Friday, March 29, 2013

Shrinky..

Dinks!

I may be dating myself here somewhat, but when I was a kid way, way back in the 1970's I LOVED shrinky dinks.  I hadn't given them much thought lately until I saw some kits at Joanne's.

That got me thinking, and thinking can be dangerous, especially if you are planning a 1960's Groovy Girl Spring Camp for a Mother/Daughter group I am in with Sophia.

So I did a bit of research and came up with this super fun shrinky dink bracelet craft to do at camp.


I shopped around and found some Shrinky Dink brand blank plastic at my local Michael's.  I purchased the kind that is suitable for color pencils.  Make sure you check the package because there is a lot of different shrinky products out there now.

I cut the plastic into 1 1/2 inch squares, rounded the corners and punched them with a standard hole punch.  Then I let Daughter have at it and we ended up with this:


I followed the baking directions included with the shrinky plastic and used parchment paper to protect my cookie sheet.  Voila, a few minutes later we had shrunken shrinky dinks.

We strung the shrinkies along with some pony beads on thick elastic cording I found in the jewelry making supply section of Joannes.

This turned out to be a super easy project that would be great for spring break crafting or even a birthday party craft.  

The best part?  My boys loved it just as much.  They made dog tag style necklaces and back pack tags.

Happy Shrinking!


Thursday, March 28, 2013

Nutella..

Brownies.
The gooey center is a glob of Nutella
Yep, Nutella Brownies.  Can there be anything more decadent?  Trust me when I say not so much.
 
I made Sunset Magazine's Chocolate Nutella Brownies today.  I've had the recipe for a while, I was just waiting for the right day to try it out and today was the day.

The recipe itself is a pretty basic brownie recipe.  The only changes are that both melted unsweetened chocolate AND cocoa are used. 
The melted butter and chocolate are stirred into a dry sugar and cocoa mix.
 Add some eggs, vanilla and salt.  Then once that is completely mixed, stir in the flour. 
Then instead of baking the brownies off in a 9*13" pan, bake them in muffin pans.  I buttered the pans really, really well since I didn't want my brownies to stick.
 Make a small indention in the top of the brownie, and spoon on some Nutella goodness.
All ready for the oven.  Being the good planner that I am, I doubled the recipe.  The original recipe makes 8 brownies, in my family of 5 that means war.  I managed to get 18 brownies using my ice cream scoop to measure out the batter per cup.  You could probably use a miniature muffin pan and get a lot of bite size brownies, just be sure to reduce the baking time.
 
Brownies are out of the oven and my husband has already sampled the goods.
This recipe is a winner and will definitely be put into regular rotation.  A cup of tea and a Nutella brownie, that might just be heaven.

Enjoy!


Wednesday, March 27, 2013

We're expecting..

baby hummingbirds!

A couple of weeks ago Son 2 (the future biologist) noticed a hummingbird nest in one to the trees in our backyard.  I'm not really sure how he spotted it to be honest with you.

The nest is about 12 feet up in a very brushy tree.  What can I say the kid has eagle eyes.

We've been patiently waiting for the mother bird to leave the nest, she's been pretty responsible so far.  Once she finally left, Nadim, intrepid man that he is, got a ladder and a mirror to check out what was going on. To our excitement there were 2 eggs in the nest!


 In the couple of weeks since this photo was taken the birds have hatched and one fell to its death.  The other has already left the nest.

I guess there isn't much of a "childhood" when you are a Hummingbird :)


Friday, March 22, 2013

Spring..

.. has sprung!

I love Spring, it is my very favorite time of year.  Fragile blossoms, new leaves uncurling, spectacular!
California Poppies in the front yard, they re-seed every year and the bees love them
Anyhoo, a couple of years ago Nadim and I decided that we wanted an edible landscape.  Why waste precious space on grass?  So we systematically began ripping out the grass and replacing it with things to eat, California natives or herbs. 
Front yard, more poppies and lavender
The kids have enjoyed this process as well.  I planted a blueberry bush (ok, Nadim actually did the planting, I did the directing) on a north facing wall, right by the front door.  I would find the kids outside having a snack, before ever coming inside the house.

Blueberry bush is flowering and fruit is beginning to set

We've found that the best bang for our buck have been fruit trees.  They are the cheapest to buy bare root and give you fruit for years to come.

Nectarine tree is beginning to flower and leaf out
 Most of the fruit trees we have planted are ones that you either can't buy in the store or the flavor of the store bought fruit just can't compare to home grown.  You haven't lived until you've tasted a homegrown peach or nectarine.

Close up of a nectarine blossom
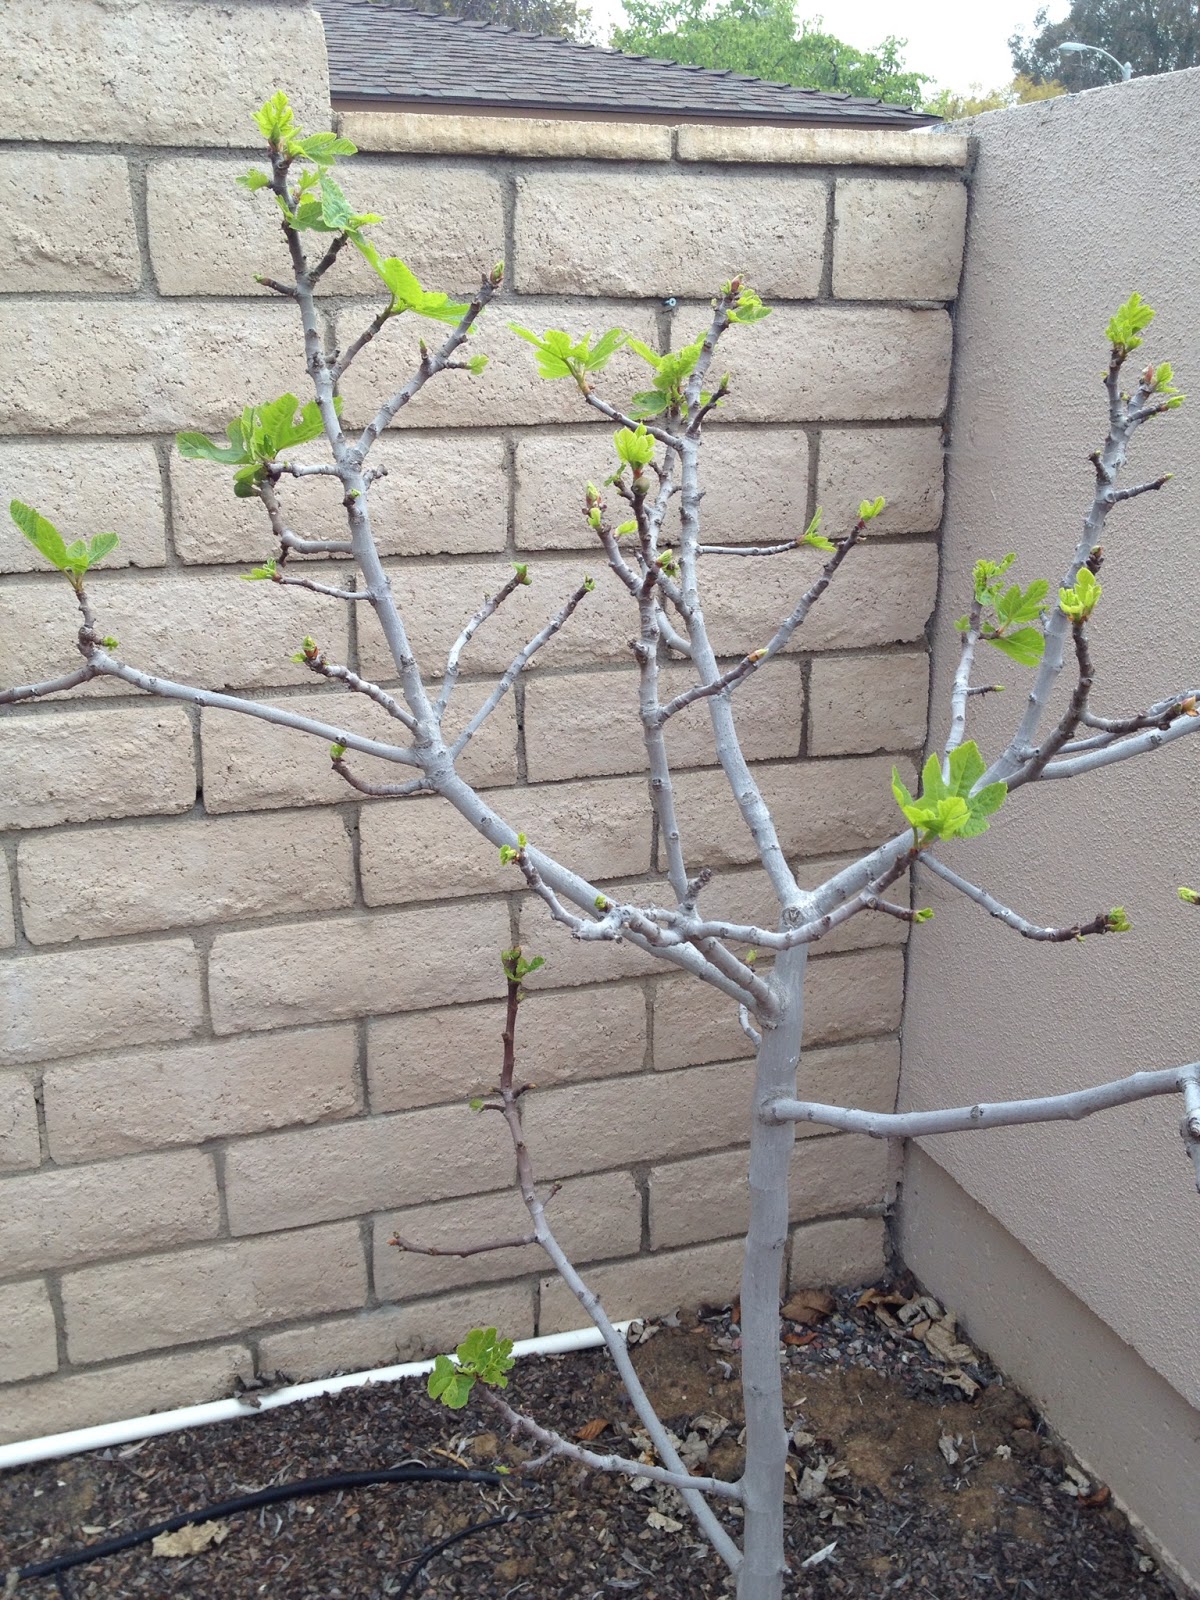
We have 4 fig trees, yes 4, and no we still don't have enough figs to go around.  Figs are Nadim's favorite fruit and are a close second for me.  We have 3 Black Mission fig trees and one white fig.

Black Mission fig in the courtyard, this tree has the best tasting fruit
 Last year we added this almond tree and it is really doing well.  We are looking forward to eating fresh almonds.

All In One Almond tree - 4 varieties of Almonds grafted onto 1 tree
Close up of an Almond Blossom
 Our latest addition to the garden is this Persimmon tree.  We got hooked on Persimmons up at Nadim's Dad's house.  They are awesome!  I could find persimmons at Whole Foods but they cost $3. each, so we put in a tree.  This is a Fuyu variety and is the pumpkin shaped persimmon.


One of the very first trees we planted was this Loquat tree.  You really can't find Loquats in stores because they are too perishable, but they are delicious!  We cut them in half, peel the skin off, take out the seeds and eat - heaven.  This year the loquat tree is loaded with fruit.
Big Jim variety of Loquat Tree
Loquat fruit
We buy all of our fruit trees from Laguna Hills Nursery, they have a booth at the Great Park Farmer's Market and also at the Old Town Orange Farmers Market.  Gary is the owner and he is a walking encyclopedia of knowledge.

I hope I've inspired you to grow some of your own fruit and vegetables.  Even if you have just enough space for a container garden, you have lots of delicious options.

Happy Spring!

Thursday, March 14, 2013

I'm back..

.. with Banana Bread.

Singing *It's been a while..*  You guys know that 1990s song, right?  Who was the band, wait let me google it - ah hah! Staind!  That line of the song has been running through my head as I decided to sit and actually update my blog.

Lot's has happened since I last posted.. drama, illness, and generally being busy.  But the past is the past and I hate to dwell so let's move onto Banana Bread.  I mean how bad can the world be if there is Banana Bread in it.

And to be honest, this isn't just any Banana Bread.  It is the absolute, 100% best ever Banana Banana Bread.  I've been using this recipe since one of my Home Economics students found it way, way back in the 90's.  Hmm, teaching 90's, Staind song 90's..  I'm sensing a theme here, but I digress.

Any hoo, this banana bread is fabulous, the only downside is that you need a lot of bananas to make it.  I used 4 very large bananas today and just barely had enough.  This isn't the type of recipe you can make because you have one left over banana that nobody would eat.  This recipe takes planning ahead.  Next time you hit the grocery store buy 5 extra bananas and plan on making this a week later, your family will love you for it.

 I start off mixing the dry ingredients in a large bowl.  It doesn't have to be a giant bowl, but remember you will be stirring in the wet ingredients and all those bananas and you need room to work :)
 Cream together the butter and brown sugar.  I was a bit short on brown sugar today so I substituted granulated sugar to make up the difference.  Also I neglected to get the butter out of the refrigerator to soften overnight, so I cut mine into pieces and nuked it for 20 seconds.  This really isn't ideal and you run the risk of melting your butter, which changes the texture of your bread.

 Mush up the banana, but not too much.  I learned from watching a Barefoot Contessa episode a few years back that it is much easier to mash the bananas on a cutting board versus a bowl.  I don't know why I used to use a bowl, probably because my Mom did.  Anyway, here is what my banana looks like.
 Mix the banana into the butter, sugar, egg mixture.  The more you mix this, the smaller your pieces of banana will be.  Personally I don't like giant pieces of banana in my bread, but if you do minimize the mixing.
I mixed the banana mixture into my large bowl with the flour mix in it.  Stir this gently and as little as possible, remember over mixing makes your baked goods come out tough.  The bread baked in the oven for 60 minutes and was looking good when it came out.  I'm going to let mine cool off and be ready to go when the kids come home from school looking for something to eat.

Let me know if you try the recipe- enjoy!

Saturday, February 16, 2013

Breakfast..

.. its whats for dinner.


My kids love having breakfast for dinner.  I love making breakfast for dinner because it is quick, easy and cheap.  My husband loves having breakfast for dinner mostly because it is cheap.

Tonight I made pancakes using my favorite recipe from Better Homes and Gardens.  I like this recipe because you don't need buttermilk or sour milk and it is really easy to double for a larger family like mine.  I always double the recipe and that makes about 18 pancakes.


I mix the dry ingredients in one bowl and the wet ingredients in the other.  It saves clean up to mix my wet ingredients in a large liquid measuring cup.


 I very gently whisk the wet and dry ingredients together.  It is really important not to over mix or your pancakes will be tough and who wants tough pancakes?


 I use a flat stove top griddle to cook my pancakes and I do 4 at one time.  It can be tricky to flip them over but when you have starving kids around you have to do what you have to do.


Son 1 took this photo of his plate of pancakes.  We are working on teaching the kids to cut up their own food, but it is hard to break the habit of cutting everything for them.

If you have extra pancakes left over, they store really well in the refrigerator and can be reheated in the microwave. 

Fresh fruit is also a delicious addition, I love berries and bananas in mine.

Enjoy!

Friday, February 15, 2013

Clear schedule..

..sick kid

Well it's finally happened, we went unscathed from the cold and flu season until today. 

Daughter is home from school with a 102 fever.  She is missing the 100 day of school celebration and fun friday.  Daughter is not a happy camper.

Me, well I'm sorry she isn't feeling well, but nothing clears my schedule faster than a sick child.

I'm going to try and enjoy my day home, have a great weekend!