Saturday, April 13, 2013

Robin's Egg..

Quilt.

I've started on a new quilting project.  I was inspired by this blog entry by Krista Withers.  I love, love the white background and the circle motifs, the feed sack fabric not so much.  But that is why I love sewing, anything can be re-interpreted.

So I decided I wanted to use the snowball or drunkard's path quilt pattern but interpret it in a modern way.  I found this great tutorial on making your own drunkard's path templates.

I used an empty cereal box to make my templates, and decided on a 5" finished block with circular inserts on two opposing corners.

Inspiration and template

Once I had my design in mind, I went shopping with my own designer Nadim to help me pick fabric.  I tend to get overwhelmed when picking fabric.  I like the cutting and construction - not so much the designing part of making a quilt.  Luckily, my husband has excellent taste.

Fabric selection - simple!

After I washed my fabric, I started cutting.  Instead of cutting all the fabric at one time like I usually do, I decided to break things up.  I cut 12 cream squares, then used my handy dandy template to cut out the curved piece.  I like to use the fine line Crayola Washable Markers for marking.  I've never had a problem with the marker not washing out.  Plus the markers are really, really cheap compared to washable quilting markers.

Cream fabric 5 1/2 inch squares

Then I cut out the robin's egg fabric into a square, traced on the curve using the template and cut it out.  I experimented with both my small rotary cutter and scissors, I preferred cutting with my scissors.

Marking the curve with my template

Cut robin's egg blue piece

Next up was pinning.  You don't have to pin, but I feel much more confident when I do - especially when I'm sewing curved seams.  I pinned while I watched TV :)


Finally time to start some stitching.  I'm using my 1/4" quilting foot on my machine.  I stretched the fabric, lined up the edges and sewed!  I kept tension on my fabric while I was stitching and the seams turned out great!

In the middle of stitching the curved seam

Here is a sewn square.  I am really, really happy with the quality of my curved seams.  I think the pinning really helped distribute the fabric evenly through out the curve.

Finished!  The blocks still need the other corner added.

I sewed up all 12 of my blocks.  I decided not to press any of the seams because I still have the opposite corner piece to add.

Halfway through the stitching

I completed the second corner the same way as noted above and then I pressed the squares.  I swear that ironing does something magical!

Squares complete and pressed

Here is a close up of my curved seam.  As I was stitching I realized that sewing this curve is the same as when a seamstress sets in a shoulder seam.  I've set in plenty of those, I'm not sure why I was worried about how these would come out. 

close up of corner insert


I'm really loving the colors so far.  I'm also enjoying a slower pace of construction.  I always try and race through, I'm not sure why.  This time I'm enjoying the journey and only 108 more to go...

Friday, April 12, 2013

Apple..

Cake.


This is an absolutely easy and delicious way to use up 4 apples.  You know, for those times when the kids are begging for apple pie, but you are feeling to lazy to make it?  Anyone, anyone?  Is it just me who gets begged for apple pie year round? :)

Here is the recipe:

Cinnamon Apple Cake

3/4 cup flour
1 tsp cinnamon
3/4 tsp baking powder
Pinch of salt

4 apples (1 apple each of 4 different varieties work best)
2 eggs
3/4 cup sugar
1 T rum
1/2 tsp vanilla
6 T melted butter

  1. Preheat oven to 350 degrees
  2. Butter an 8 inch spring form pan and place on a lined cookie sheet
  3. Peel, core and cut the apples into 1/2 - 1 inch chunks
  4. Whisk the flour, cinnamon, baking powder and salt in a bowl
  5. Beat the eggs in a separate bowl until they are foamy
  6. Add the sugar, rum and vanilla to the eggs and continue mixing
  7. Add half the flour into the egg mixture until incorporated, then add half the melted butter, mixing again
  8. Repeat with the rest of the flour and butter and blend until smooth
  9. Fold in the apples
  10. Pour batter into the spring form pan and level top
  11. Bake cake for 50-55 minutes or until a knife inserted into the center comes out clean.
Let cake cool and serve warm or cold.

Let's get to work!  First thing I do is prepare the apples.  I prefer slightly smaller chunks of apples in 1/2 - 1 inch chunks but you can cut them bigger if you want.


I don't have a picture here, but the next thing to do is to mix your dry ingredients together in a small bowl.

Now is the time for the wet ingredients.  One of the most important parts of this recipe is to whisk the eggs until they are foaming, don't get impatient.  See how the eggs should look?

Foamy eggs
 Now we add in some good stuff.. like rum and vanilla.  In the pic I show some Vanilla I purchased from Trader Joes and it is God Awful.  I much, much prefer the Whole Foods brand of organic vanilla, but I think even regular old McCormick's vanilla is better than the Trader Joes swill.


Yum, looking nice and smooth, ready to add the dry flour mixture.  Blend it in carefully, overmixing will give you a tough apple cake and this one should melt in your mouth


Ready to fold in the apples, almost done now..


 Voila!  Ready to bake.  Yes, there are really alot of apples in the cake, don't worry everything will turn out ok :)  Just gently press down the batter to even out the top and make sure that there aren't any air bubbles underneath.


Out of the oven!  The beauty of a spring form pan is that after letting the cake cool for about 10 minutes you can gently run your knife around the edge and pop the sides off.  I should mention here that house smells wonderful with the apple, cinnamon and rum smell wafting about.


Snack time at the Kurani house, you know it is going to be a hit when as soon as the kids walk in the door they say "MOM, what is that smell and can I have some?"  The answer is, "yes!"


 Enjoy!

Wednesday, April 10, 2013

To volunteer or not to volunteer..

that is indeed the question.  I'm busy, really, really busy with my volunteering.

My dear husband doesn't seem to mind too much, it's only when I hear him grumbling "You should get paid for doing that", that I realize that I could easily hold down a job with the amount of time I spend volunteering.

At what point does it all become too much?  I seem to have the kids schedules under control, but mine - not so much.

As a stay at home Mom, I don't have the excuse of - "I can't, I have a job" and so it seems to follow that because I don't work for money I must have loads of free time.

I wish I did.

I wish it so much, that I'm going to scale back my involvement next year.  A lot.

My tenure as Financial Secretary for the elementary PTA is up in June and I'm not going to hold a Board position next year.

My tenure as Princess of Adventure Maidens is also up in June and although I will hold a Board position next year, it will be one with less time commitment.

My tenure as Committee Chair of the Cub Scout Pack, well that is up in the air.  If I can get a fellow parent to hold the Cubmaster position I will stay June 2015, if I can't I will be out as of June 2013.

My 6 hours of volunteer work in the classroom will be ending in May, and I am going to cut this in half for next year.

As I look at the list above I'm noticing that perhaps I'm not cutting as deeply as I should.

I need to stop picking up the slack of other parents who want their children to have great experiences but aren't willing to contribute.

I'm going to start saying "NO"

I think.

Sunday, April 7, 2013

Guns..

and Ghosts continued.

So as you may recall we had just finished shooting our way through the first portion of our Spring break excursion Kurani style.  Those of you that are familiar with the I15 north of Barstow probably already guessed where we went next - Calico Ghost Town.

Entering Calico

I haven't been to Calico since the 70's, I didn't remember much except for the Mystery Shack and that it was as hot as hell.  Now that I'm thinking about it, I believe I camped there with my Girl Scout Troop.

Anyway, I thought the kids might be interested because Calico is an old mining area.  The town itself was restored (rebuilt, actually) by Walter Knott - yes of Knott's Berry Farm - back in the 1950's and then donated to San Bernardino County.

Side street in Calico

If you can't tell by looking at the pictures the place is not at all suitable for strollers or anyone who may have problems walking.  The kids loved the rugged nature of it and the first thing we did was check out "Maggie Mine" - basically a chance to walk in one of the old mine tunnels.

Maggie Mine - walking and train tour start here

The obsession with playing "Minecraft" helped turn a tunnel into a fascinating journey, luckily no one suffers from claustrophobia. The tunnel still had it's chutes where material was dropped into waiting mine cars and some interesting signs.  There were a couple of cheesy dioramas set up, but the kids still enjoyed it.  I liked the big fan that was circulating the air. :)

Inside the Maggie Mine

 Once we were out of the mine we continued up the hill to the look out point.  The view was spectacular - the safety railings left a bit to be desired.  On the opposite side of the hill from the view, was a giant hole that used to be a silver mine.

View over the valley
Looking into the giant mining hole
View over Calico out to the valley
View of the mining tailings and railroad

The Mystery Shack was the kids temporary favorite.  I don't think it has changed much since the last time I was there.  There are some visual puzzles in the waiting area, water flowing uphill, a chair that is impossible to get out of and my favorite - the walk up ladder.  About half way through the tour I started getting a migraine.  Nadim also got a headache but the kids were fine.  It sucks getting old.  The geometry of the place is pretty impressive though, I'm still trying to figure out the angle of the floor.  Check out the pic with the Sheriff in it below and let me know if you have any guesses.


Sheriff and the Mystery Shack

Once we started panning for gold the kids forgot all about the Mystery Shack - easy come, easy go.  The line to pan for gold was pretty long and slow.  The kids got a big scoop of sand in a traditional gold pan and started moving it in big circles under the water and knocking the pan against the side of the trough to get the gold to sink to the bottom of the pan.  It is worth noting that the "gold" is pyrite, but the kids didn't seem to mind.

Panning for gold

All in all we had a fun time at Calico, but it is borderline expensive for what you actually get.  As a disclaimer, we didn't actually see any ghosts.  We did see lots of tourists.  If you want to go see a real ghost town check out Bodie State Park.


Saturday, April 6, 2013

Swim..

poncho.

The Mother/Daughter group - Adventure Maidens - that Daughter and I are members of are going on our Spring camp out in May.  The theme of the camp is "Groovy Girls" with a 1960s flair.  To that end we've been doing lots of tie dye.

One of our activities is swimming so you know what that calls for?  Tie dye swim ponchos!


We started out with a white bath sheet I purchased at Target for around $10.  I picked the biggest one so Daughter would get the most coverage.  We tie dyed it using a Tulip Tie Dye kit I bought at Joannes.  There are lots of good instruction videos online if you need more help.  I realized after this project that tie dying is not really my strong suit.

After you're done tie dying, and have washed your towel about 3 times, it is time to start construction!

First fold your towel into fourths as shown in the picture below.  You will be cutting a slit down the long side of the towel for the head opening, so make sure your towel is folded the right way.  You should be able to insert your scissors into the fold and cut two layers of the towel at the same time.

Towel folded into 4ths,  the edges of the towel are on the left and bottom sides

Once you are 100% sure that your towel is folded correctly , get out your handy dandy tape measure and measure 5 1/2 inches down the long folded side of the towel.  I used a pin to mark the place I wanted to stop cutting.  Insert your scissors and carefully cut.  If you need a bigger head opening, just cut a bit more.  Your finished head opening should be 11 inches.

Measure 5.5 inches and carefully cut a vertical slit for the head opening

Now its time to sew.  I used a 3 stitch elastic stitch to finish the opening.  I like the stitch because it really holds up well.  You could also use a basic zig zag stitch if you wanted to.  Sew all the way around the head opening.

Stitching around the head opening, the finished side is on the left

Once the head opening is stitched, fold the towel in half across the short side, or in a hamburger fold as Daughter calls it.  Measure 10 inches from the fold and pin on each side.  This is the starting point for sewing the side seams.  Sew from the pins all the way to the ends of the towel on each side.  This makes the arm holes and the side seams all at once.

Measure from the fold 10 inches.

Close up of where to start stitching

Make sure that you sew toward the edge of the towel, NOT the fold.

Sew all the way down the sides of the towel to the edges to make side seams

Voila!  Simple swim poncho!  Check out the finished poncho in the photos below.  See how the vertical slit cut into the center of the towel becomes the head opening?  Remember the length of the head opening can be adjusted for larger or smaller heads.

Back of swim poncho

Front of swim poncho


Swim poncho with arms extended.

Have fun sewing up this very simple project!

Friday, April 5, 2013

Ghosts..

and guns.

I know, a non sequitur but that pretty much sums up our day.  Well, I forgot about the burgers.  I guess it should be guns, ghosts and burgers.

It's Spring break for the kids and for me.  A perfect week filled with sleeping in, no schedules and best of all no lunches to pack.

When asked to choose between Sea World and shooting, the kids chose shooting.  And so began our excursion to points north of beautiful Barstow.

First stop was our favorite burger place - Freddy's Steak Burgers - in Victorville.  I guess it says how much we love this place that one of the deciding factors of our trip was that we got to eat lunch here.  They have awesome burgers and frozen custard - delicious!


After we indulged ourselves we continued north, past Barstow.  We finally arrived at our destination - the boonies!  Alright, it isn't actually the boonies.  The boonies are driving east on I40 past Flagstaff... real boonies, like no Star Bucks or McDonald's or gas stations for hours.  Like you better be able to change a flat tire and kill zombies on your own because there ain't another person around for miles kind of boonies.

So this isn't full boonies, just partial boonies.  Anyway, once we arrived the kids jumped out of the car ready to "mine" while Nadim got organized for shooting.  For the past month or so my kids have been playing Minecraft, I personally don't see the attraction, the graphics are horrible, but the kids love it.  This trip segued nicely into that mindset.  For the kids though mining translates into digging big holes and collecting rocks.


Son 1 and Son 2 came prepared with shovels, picks and working gloves - let the fun begin!


We rotated the kids through shooting.  Daughter volunteered to shoot first, then Son 2 and finally Son 1.  The boys brought some paper targets with them of rancid looking, nasty boars.  They had a great time shooting at those.  We did have a few small technical difficulties, like forgetting the table and chairs.  Nadim realized we were table and chairless about 1.5 hours into our journey so it wasn't an option to go back and get them.  Leave it to my trusty husband to "improvise".  We made do with a bucket that was supposed to be for collecting rocks and the target stand.
Daughter

Son 2

Son 1

After the kids were done it was my turn - don't mess with Momma :)  I shot up a gallon milk jug with the .22 rifle and then tried out my old Beretta .22.  Nadim went last, he is an amazing shot with his trusty .45

Of course the .45 is one of the guns I learned to shoot on and I have a classic story of 2 cans of Coke and that gun .. suffice it to say that one can of Coke was for me to drink and they other was to hold on the goose egg on my fore head.  You know that poster "Everything I need to know I learned in Kindergarten"?  Well I should make a poster that says "Everything I need to know I learned on the shooting range with my Dad"
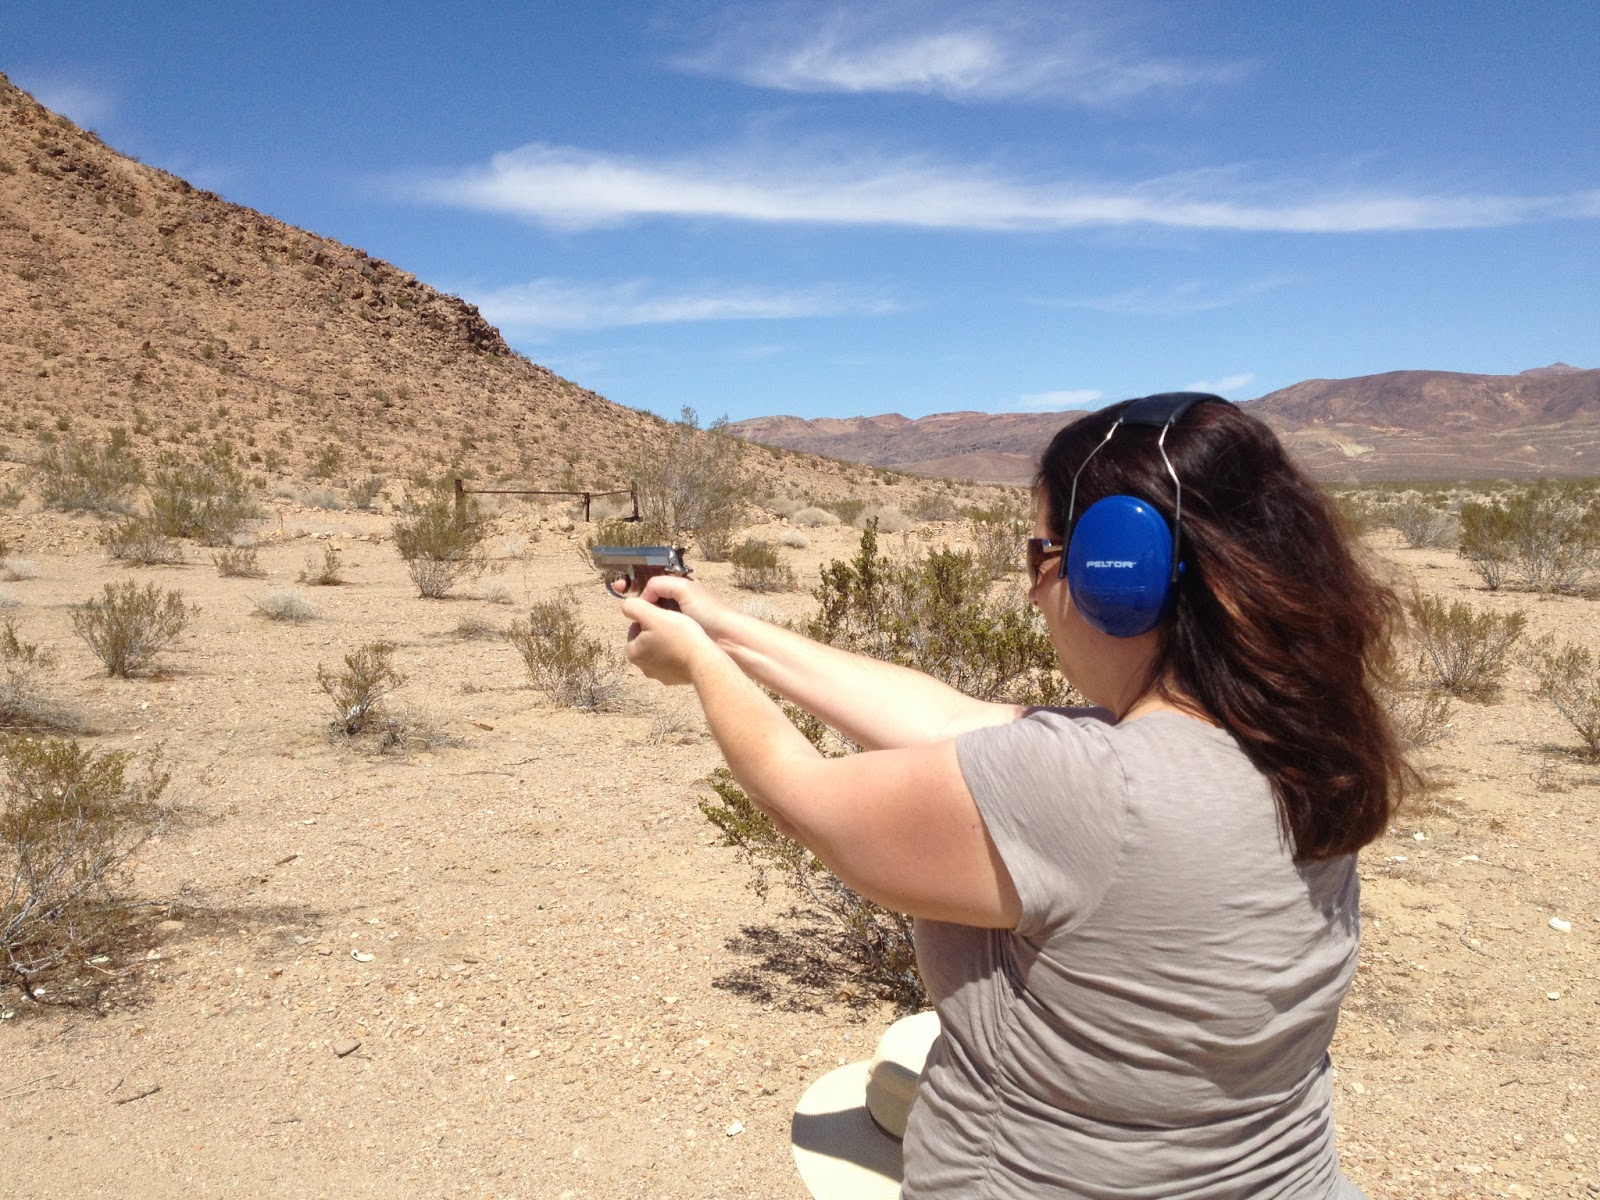

Anyhoo, once we finished shooting we headed off to the ghost portion of our day.  I'll give you a couple of hints - the ghosts were just a couple of miles down the road and there were lots of European tourists there.

Stay tuned for part 2

Monday, April 1, 2013

Maidens and Patches and Beads, oh my!

Some of you may have guessed what than means, it is Adventure Maiden time!  Daughter and I had a "Teddy Bear Valentine Exchange" outing last month.  This was a dream outing for my Maiden, and to push it over the top we were in charge of beads and patches.

In Adventure Maidens each mother and daughter is presented with a themed patch and bead when they attend an event.  We wear these on our special necklace and also on our formal wear.

Here is how we put together our patches:

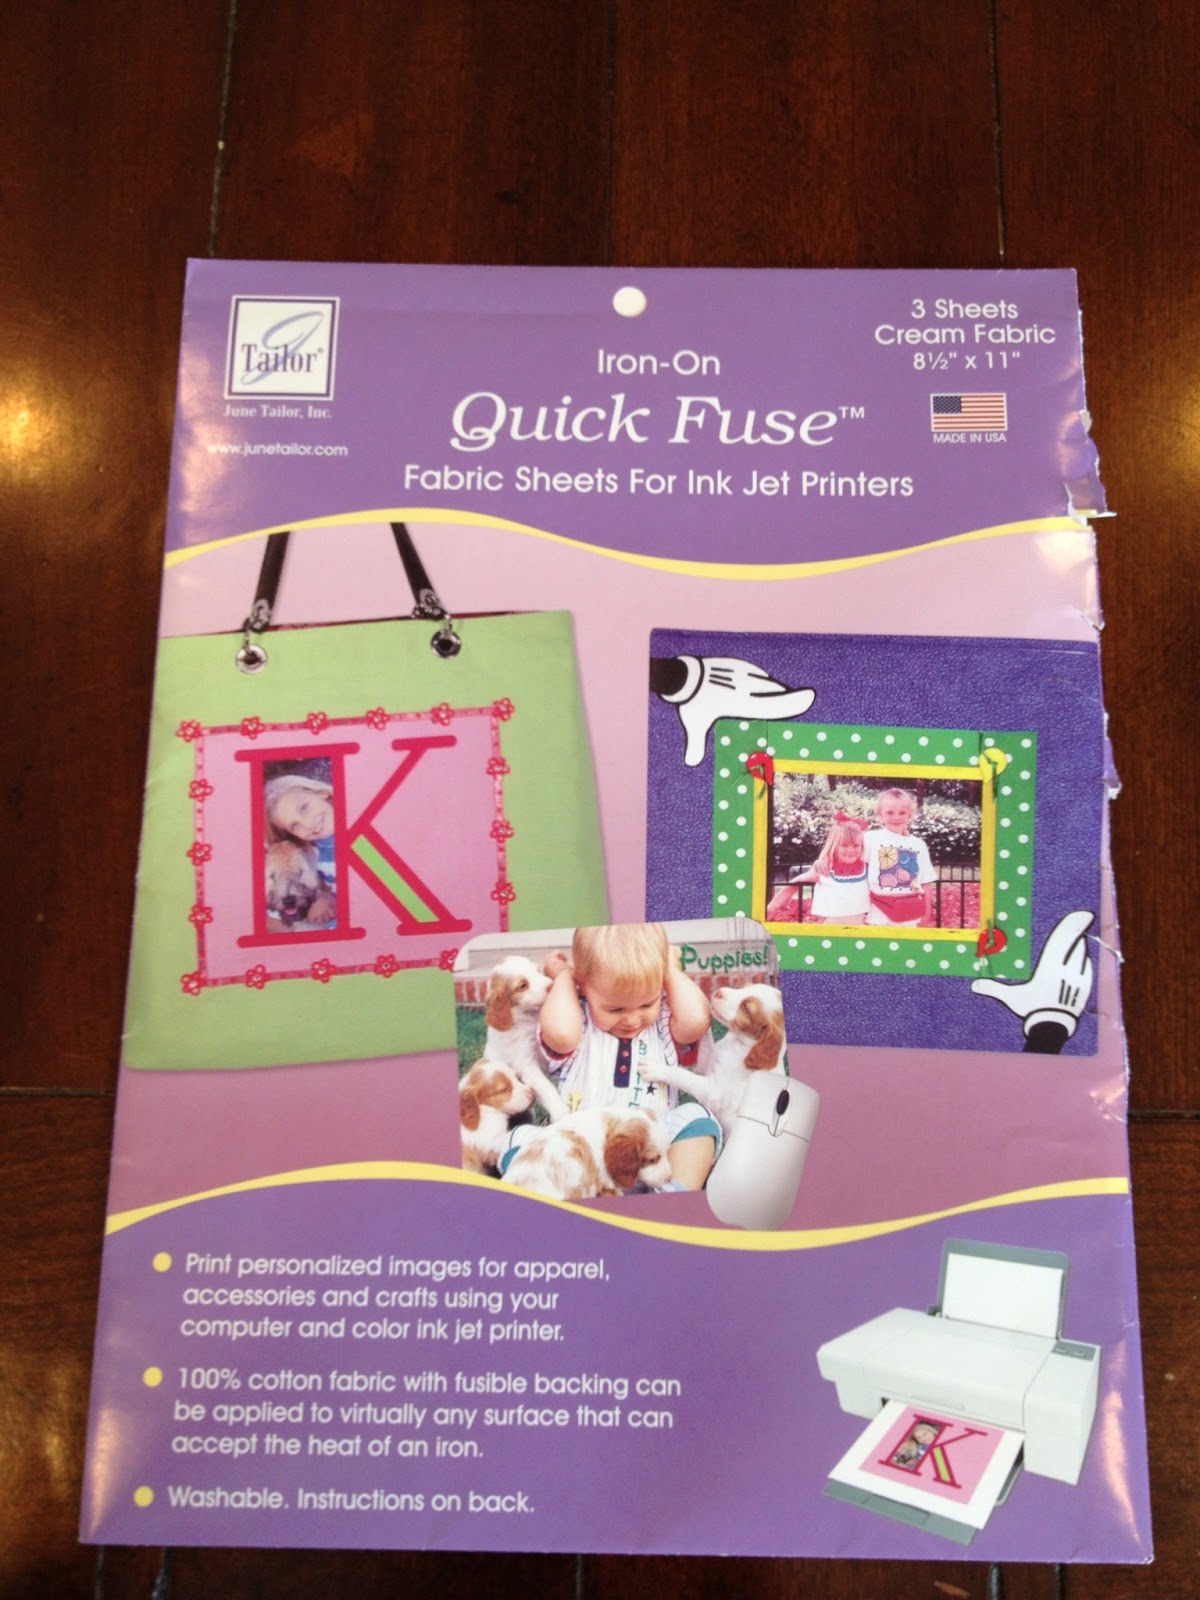
First I use a fabric sheet that I can print on using my ink jet printer.  I buy these at Joanne's fabric.  These sheets have a heat activated adhesive that I can iron onto my fabric backing.

Taylor brand fabric sheets

Purple chimp fabric sheets
Next I get on the computer and figure out what graphics I want to use.  In this case, the theme was valentines and teddy bears, so I decided on a bear head.  I did a search on images and found one.  I try my design out first by printing on paper adjusting the size and layout as needed.

I  bought some felt sheets as Joannes in the colors I wanted to use and made myself some templates.  I like to use an empty cereal box  for my templates.  The cardboard isn't too thick and I always have a supply ready to go.

Practice paper print and cardboard patterns
 Once I have all the parts cut out I'm ready for the iron and assembly.  I generally try to do everything in an assembly line fashion.  I'm making 30 patches.
trying out spacing for the patch

assembly line construction
I usually get Daughter involved when I start gluing things together.  I usually use white glue for everything.  Hot glue makes me nervous and I hate the stringy things it leaves.  In this case I had to use hot glue to attach the bow I added to the patch.

Aleene's glue works great with felt
 I added the year to the patch with some fabric paint and let everything dry overnight.  Voila, patches!
Ready for the event!