Showing posts with label Adventure Maidens. Show all posts

Saturday, May 4, 2013

Tea..

..party!

Those of you who know me, know that I have a weakness for tea.

So today's Adventure Maiden Mother Daughter Tea Party was right up my alley.

We went to Tea and Teacups in Yorba Linda.  It is really kid friendly and they have packages that include party favors - perfect, no crafting for me :)

Entrance to the tea room

There is also a cute gift shop that sells tea related items and of course, different teas.  I bought myself Caramel Rooibus, Cream Earl Grey and a white tea pot for my Mother's Day gift.  Yep, that's the way I roll, buying my own gifts saves all kinds of angst :) 

Private party!  Maidens on one side, Taus on the other

We had the place to ourselves which was really, really nice.  The girls all sat at one long table and the grown ups had our own table.  It was great to chat with the other Moms.

Lunch for Moms

The food was decent..

Lunch for daughters

The scones, cream and jam was unbelievable.  Some in the Moms in our group were tempted to lick their their plates, but I won't name names :)  Needless to say the tea and scone were the high point of my outing, well that and the sparkling conversation.

Scone, cream and jam

The girls also had a cup cake as their dessert, really not necessary after the scones but still super cute.

Daughter's dessert

What a wonderful way to spend a Saturday afternoon!


Friday, May 3, 2013

Square peg..

..in a round hole.

In Adventure Maidens, Daughter and I frequently earn beads for attending events.

Problem is that our necklaces are strung on plastic lacing, which is pretty thick, and most of the pretty beads have very small holes.

Enter my adventure maiden bead adaptor :)

Pink sparkly bead that Daughter selected

The secret weapon in my arsonel is a head pin. They sell head pins at both Michaels and Joanne's in the beading section. Head pins come in different lengths and some also have a loop at the end for adding a dangling bead.

head pins, a cheap solution

The bead I am using here has a horizontal hole, so I just bent the head pin so that the bead would hang down.

Head pin inserted through hole


bent head pin

Once I have the head pin in I added some additional beads to fancy it up.

These particular beads are for our Mother-Daughter Tea Party.


fancy beads in place

Once the bead is complete, I use a pair of pliers to twist up the extra length on the head pin and turn it into a loop. I'm sure that there are nicer ways of doing this, but when you are making 30 of them, corners will be cut :)

bending the head pin to create a loop

loop close up, not too bad

finished bead


The completed beads along with a purchased patch is all ready for our tea party.

Mmmmm, scones, tea, little sandwiches, a flower headdress and a wand... Can anything be more fun?


Sunday, April 21, 2013

Just another manic..

..Sunday

Well to be perfectly honest, Monday's are pretty manic too, actually so is every other day of the week.

Hmmm, I just re-checked my schedule and all my days are manic until the second week in July.  Pretty scary.

But let's focus on today, it's the journey right?? Not the destination.

Today was flag football and bowling.

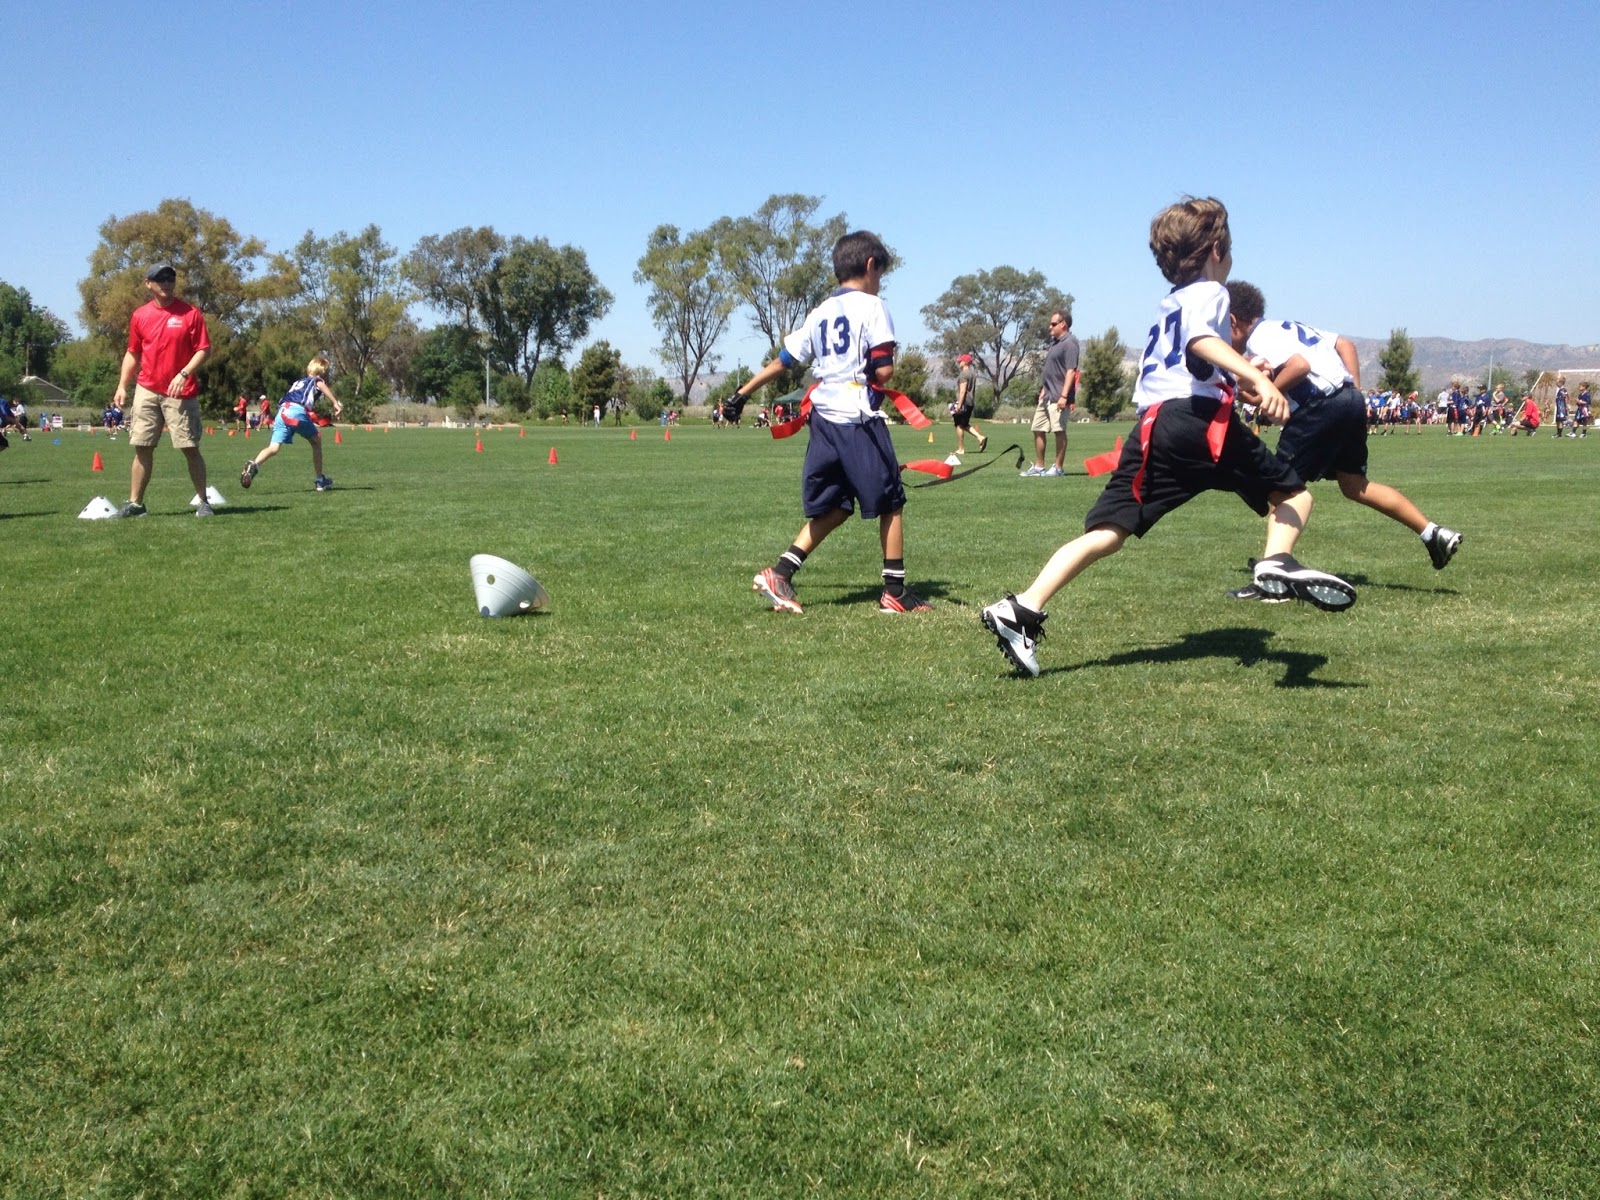
I'm not one that loves the whole sports thing that most of the kids seem to do constantly.  Spending the whole day watching games, no thank you.  But, when my sons actually asked to play flag football I couldn't really say no.  Luckily Nadim volunteered to managed this activity for me as I'm operating at max capacity now.

The boys have just started their season and seem to be really enjoying it.

Son 1 and Son 2 cooling down

Son 1 play action

Flag football in all it's glory

Son 2 play action

After 2 1/2 hours of flag football, it was time for some Adventure Maiden Bowling.  Because really, nobody was tired out yet.

Usually AM is mothers and daughters only, but this time we had a family event.  I have to admit that bowling was pretty fun.

It should be stated that I'm a terrible bowler. I almost asked to have the bumpers up for myself but I couldn't quite bring myself to do it.  I did manage to get 1 strike, but my score was 49 at the end - oh well.

The kids scarfed down the nachos - you know the liquid cheese kind.  Dinner of champions right there.

Our table

Adventure Maiden group

The nicest part was that we were on timed bowling, so no matter where you were in the game or however long the game was taking, the lane shut down after 1 1/2 hours.

After 1 1/2 hours I was ready to go home.

You know, to get ready for my manic Monday.

Have a great week everybody :)

Wednesday, April 10, 2013

To volunteer or not to volunteer..

that is indeed the question.  I'm busy, really, really busy with my volunteering.

My dear husband doesn't seem to mind too much, it's only when I hear him grumbling "You should get paid for doing that", that I realize that I could easily hold down a job with the amount of time I spend volunteering.

At what point does it all become too much?  I seem to have the kids schedules under control, but mine - not so much.

As a stay at home Mom, I don't have the excuse of - "I can't, I have a job" and so it seems to follow that because I don't work for money I must have loads of free time.

I wish I did.

I wish it so much, that I'm going to scale back my involvement next year.  A lot.

My tenure as Financial Secretary for the elementary PTA is up in June and I'm not going to hold a Board position next year.

My tenure as Princess of Adventure Maidens is also up in June and although I will hold a Board position next year, it will be one with less time commitment.

My tenure as Committee Chair of the Cub Scout Pack, well that is up in the air.  If I can get a fellow parent to hold the Cubmaster position I will stay June 2015, if I can't I will be out as of June 2013.

My 6 hours of volunteer work in the classroom will be ending in May, and I am going to cut this in half for next year.

As I look at the list above I'm noticing that perhaps I'm not cutting as deeply as I should.

I need to stop picking up the slack of other parents who want their children to have great experiences but aren't willing to contribute.

I'm going to start saying "NO"

I think.

Saturday, April 6, 2013

Swim..

poncho.

The Mother/Daughter group - Adventure Maidens - that Daughter and I are members of are going on our Spring camp out in May.  The theme of the camp is "Groovy Girls" with a 1960s flair.  To that end we've been doing lots of tie dye.

One of our activities is swimming so you know what that calls for?  Tie dye swim ponchos!


We started out with a white bath sheet I purchased at Target for around $10.  I picked the biggest one so Daughter would get the most coverage.  We tie dyed it using a Tulip Tie Dye kit I bought at Joannes.  There are lots of good instruction videos online if you need more help.  I realized after this project that tie dying is not really my strong suit.

After you're done tie dying, and have washed your towel about 3 times, it is time to start construction!

First fold your towel into fourths as shown in the picture below.  You will be cutting a slit down the long side of the towel for the head opening, so make sure your towel is folded the right way.  You should be able to insert your scissors into the fold and cut two layers of the towel at the same time.

Towel folded into 4ths,  the edges of the towel are on the left and bottom sides

Once you are 100% sure that your towel is folded correctly , get out your handy dandy tape measure and measure 5 1/2 inches down the long folded side of the towel.  I used a pin to mark the place I wanted to stop cutting.  Insert your scissors and carefully cut.  If you need a bigger head opening, just cut a bit more.  Your finished head opening should be 11 inches.

Measure 5.5 inches and carefully cut a vertical slit for the head opening

Now its time to sew.  I used a 3 stitch elastic stitch to finish the opening.  I like the stitch because it really holds up well.  You could also use a basic zig zag stitch if you wanted to.  Sew all the way around the head opening.

Stitching around the head opening, the finished side is on the left

Once the head opening is stitched, fold the towel in half across the short side, or in a hamburger fold as Daughter calls it.  Measure 10 inches from the fold and pin on each side.  This is the starting point for sewing the side seams.  Sew from the pins all the way to the ends of the towel on each side.  This makes the arm holes and the side seams all at once.

Measure from the fold 10 inches.

Close up of where to start stitching

Make sure that you sew toward the edge of the towel, NOT the fold.

Sew all the way down the sides of the towel to the edges to make side seams

Voila!  Simple swim poncho!  Check out the finished poncho in the photos below.  See how the vertical slit cut into the center of the towel becomes the head opening?  Remember the length of the head opening can be adjusted for larger or smaller heads.

Back of swim poncho

Front of swim poncho


Swim poncho with arms extended.

Have fun sewing up this very simple project!

Monday, April 1, 2013

Maidens and Patches and Beads, oh my!

Some of you may have guessed what than means, it is Adventure Maiden time!  Daughter and I had a "Teddy Bear Valentine Exchange" outing last month.  This was a dream outing for my Maiden, and to push it over the top we were in charge of beads and patches.

In Adventure Maidens each mother and daughter is presented with a themed patch and bead when they attend an event.  We wear these on our special necklace and also on our formal wear.

Here is how we put together our patches:

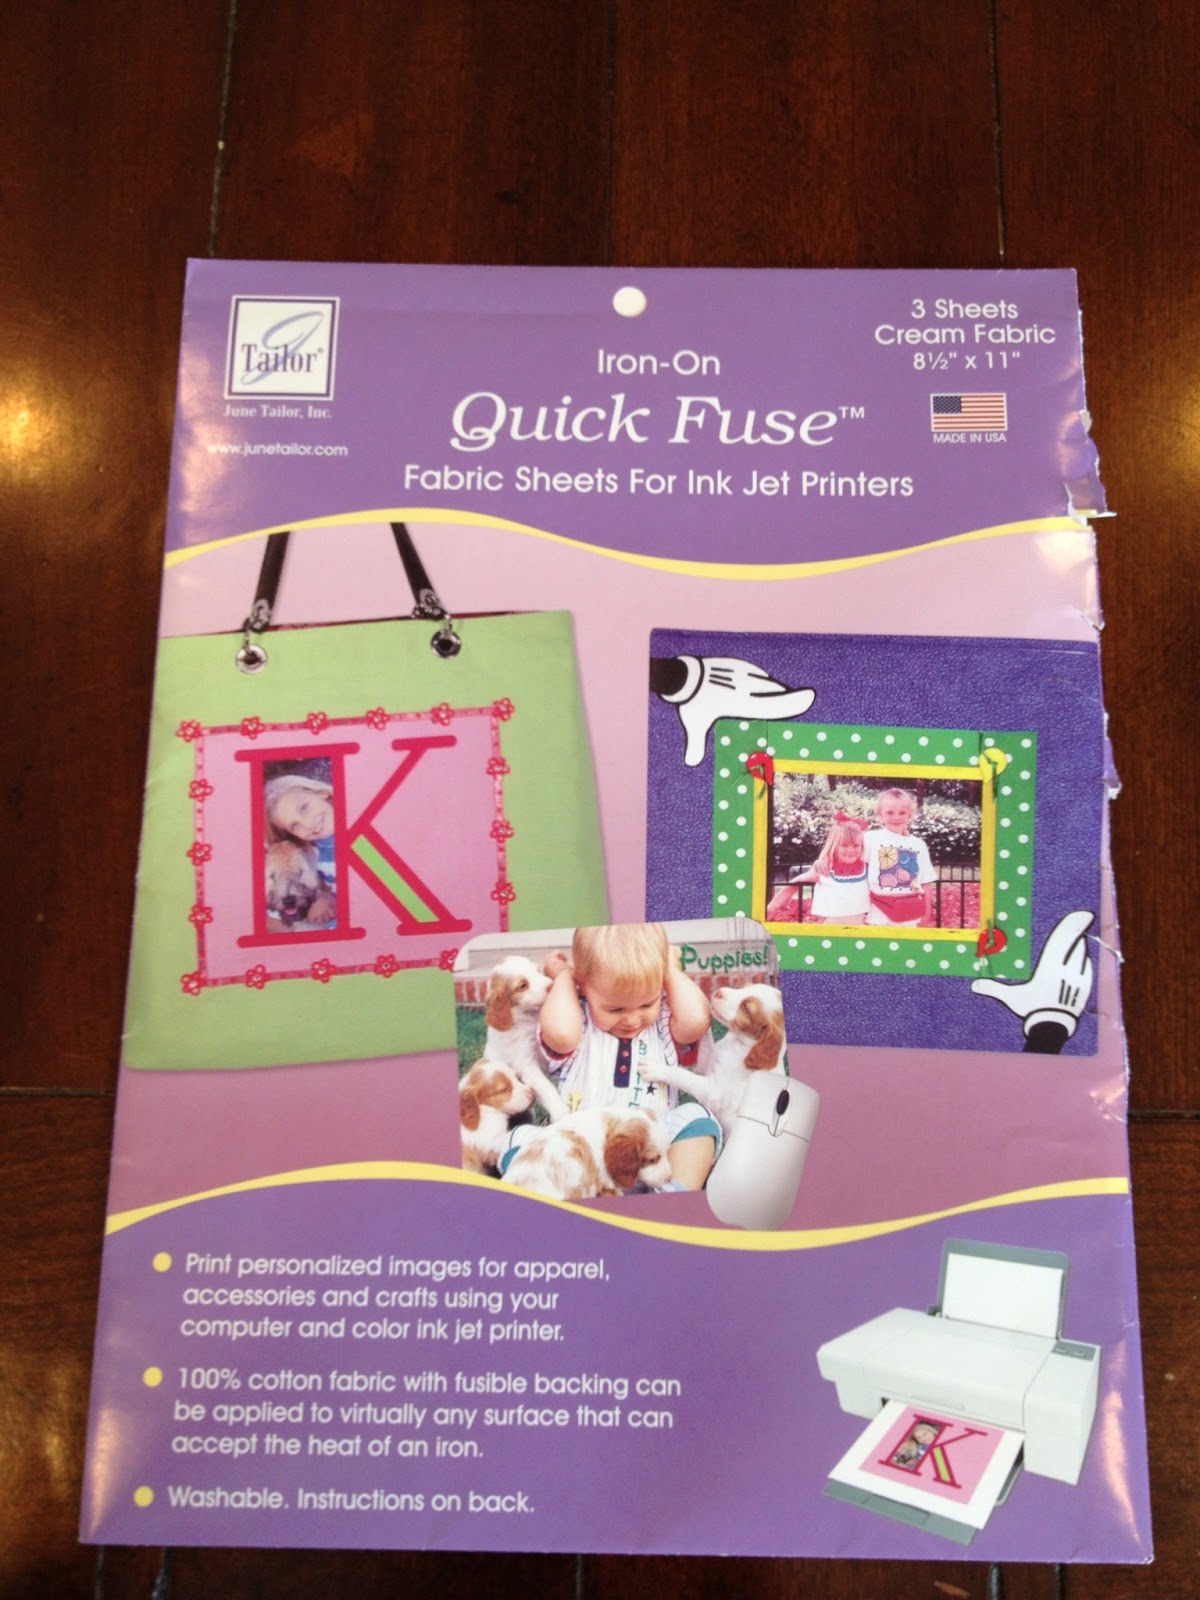
First I use a fabric sheet that I can print on using my ink jet printer.  I buy these at Joanne's fabric.  These sheets have a heat activated adhesive that I can iron onto my fabric backing.

Taylor brand fabric sheets

Purple chimp fabric sheets
Next I get on the computer and figure out what graphics I want to use.  In this case, the theme was valentines and teddy bears, so I decided on a bear head.  I did a search on images and found one.  I try my design out first by printing on paper adjusting the size and layout as needed.

I  bought some felt sheets as Joannes in the colors I wanted to use and made myself some templates.  I like to use an empty cereal box  for my templates.  The cardboard isn't too thick and I always have a supply ready to go.

Practice paper print and cardboard patterns
 Once I have all the parts cut out I'm ready for the iron and assembly.  I generally try to do everything in an assembly line fashion.  I'm making 30 patches.
trying out spacing for the patch

assembly line construction
I usually get Daughter involved when I start gluing things together.  I usually use white glue for everything.  Hot glue makes me nervous and I hate the stringy things it leaves.  In this case I had to use hot glue to attach the bow I added to the patch.

Aleene's glue works great with felt
 I added the year to the patch with some fabric paint and let everything dry overnight.  Voila, patches!
Ready for the event!

Saturday, February 9, 2013

It's Valentines Day...

and that means cookies for the Mother/Daughter group I am in with Daughter called Adventure Maidens.  AM is the updated version of Indian Maidens for those of you who are familiar with YMCA youth groups.
yum!
Anyway this year I happen to be Princess of our Expedition and that means making little treats for all the girls whose Mothers volunteer their time to serve on the board.  This month Daughter and I decided to make cookies.
3 dozen cookies cooling off
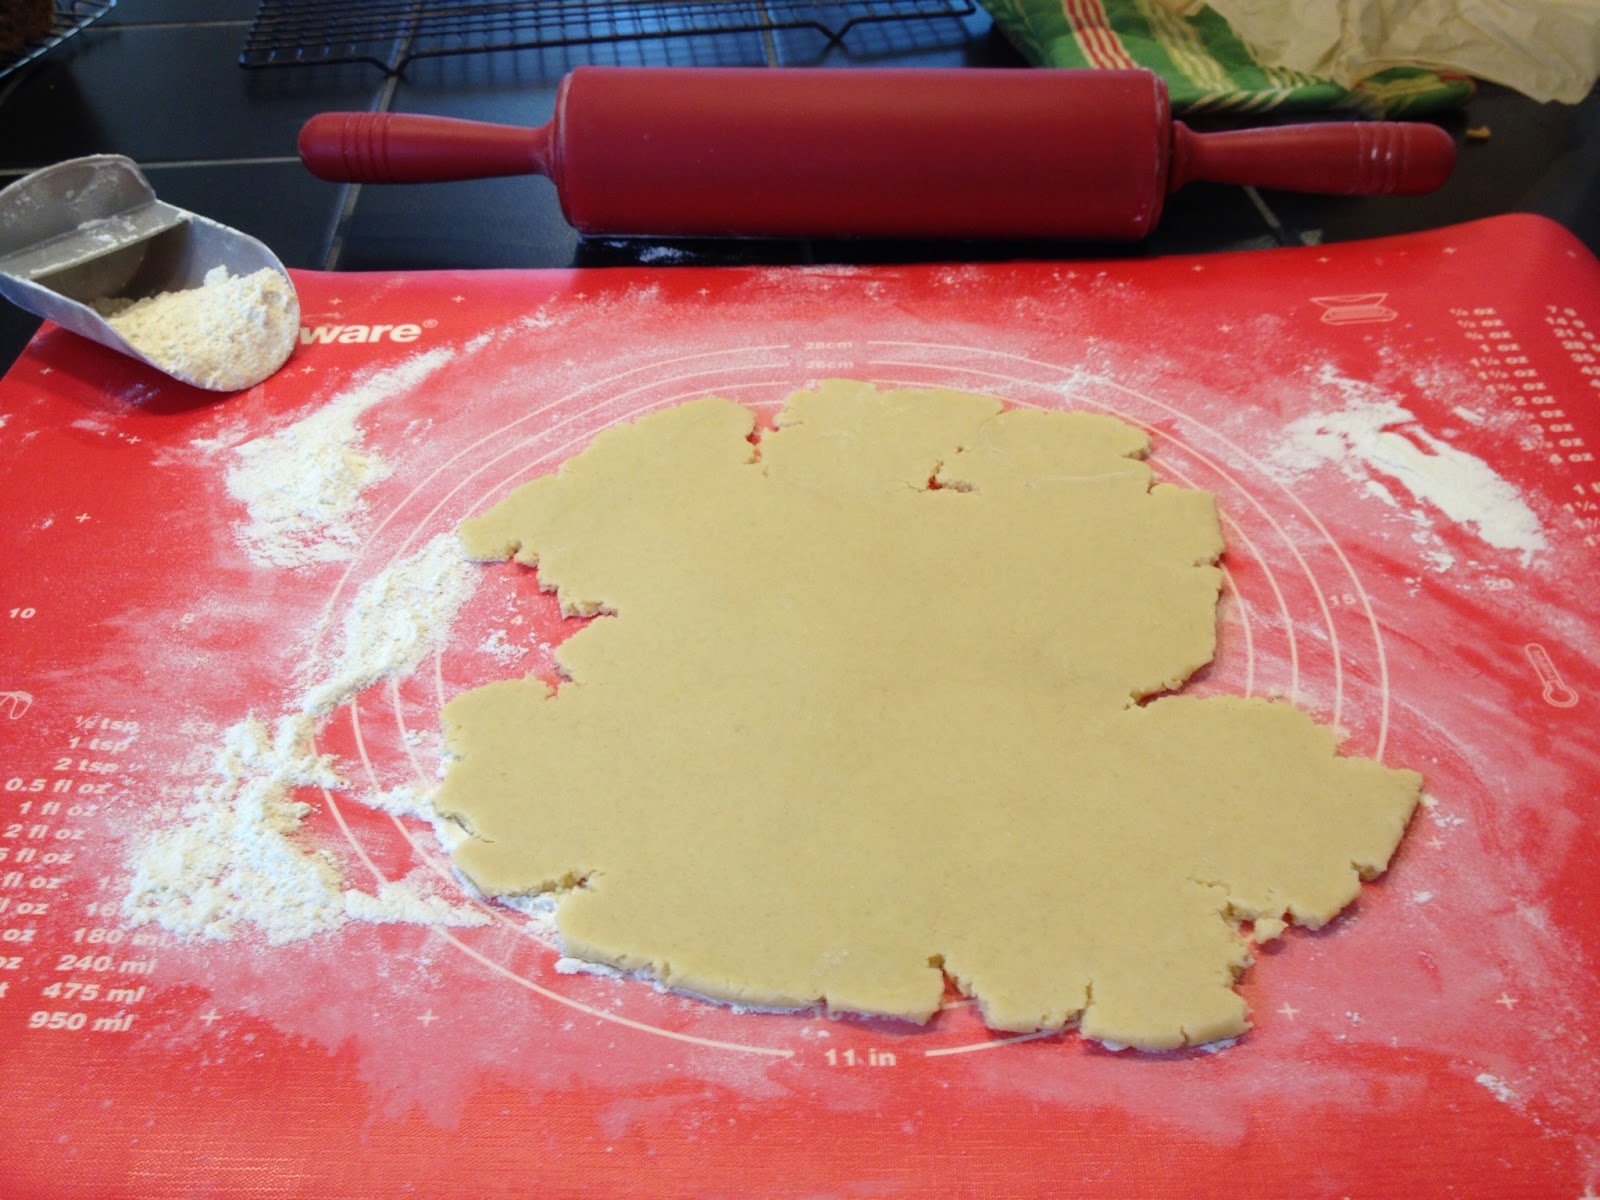
I used this Alton Brown recipe for the dough.  I really like it and I've tried quite a few.  The dough is very tender though, so if you are going to make cut-outs I recommend rolling the dough out to 3/8 inch instead of 1/4 inch.  The thicker cookies will hold up to decorating.
the dough was really cold and hard to roll out

heart cut outs
Since we are doing a Valentine's theme pink frosting was in order.  I used the standard frosting recipe that I've noted already on the Feathery Fudge cake post.  Red sprinkles can't hurt and then I added each girl's first initial with some white icing.

Happy Valentine's Day!